Nginx 默认只支持 http 正向代理,对于 https 是不支持的,需要额外的模块才行,因此我就使用 Squid 来实现 http/https 正向代理。本文根据操作系统的不同,来分别说明 Squid 的安装与配置
Windows 系统下的安装与配置
下载
打开官网,找到 Windows 版 Squid 的下载链接,直接下载就行
安装
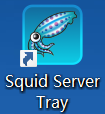
双击直接安装。安装完毕之后会在桌面上看到一个图标
启动
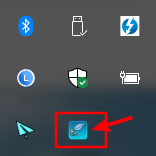
点击桌面上的图标就能启动,然后再右下角的任务栏就能看到 Squid 在运行了
配置
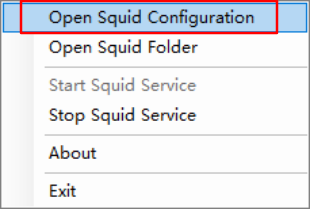
右键点击任务栏右下角的 Squid 图标
点击 Open Squid Configura,打开配置文件
按照下面的例子进行修改
修改端口
默认端口是 3128,可以改成想要的端口,比如 8080
1 | # Squid normally listens to port 3128 |
允许连接
默认情况下 Squid 不允许其他人访问,所以要开启
把这串配置
1 | # And finally deny all other access to this proxy |
改成这样
1 | # And finally deny all other access to this proxy |
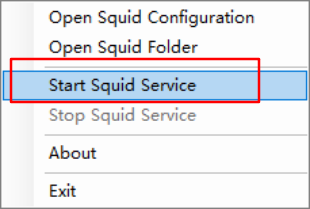
重启
修改完配置,别忘了重启。右键点击任务栏右下角的 Squid 图标,先停止
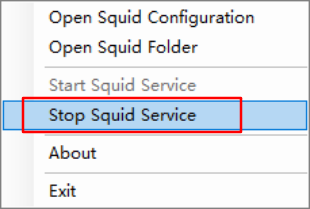
然后再启动
CentOS 系统下的安装与配置
安装
1 | yum install -y squid |
配置
打开内核转发
1 | echo "1" >/proc/sys/net/ipv4/ip_forward |
修改端口
默认端口是 3128,可以改成想要的端口,比如 8080
1 | # Squid normally listens to port 3128 |
允许连接
默认情况下 Squid 不允许其他人访问,所以要开启
把这串配置
1 | # And finally deny all other access to this proxy |
改成这样
1 | # And finally deny all other access to this proxy |
重启Squid
1 | service squid restart |
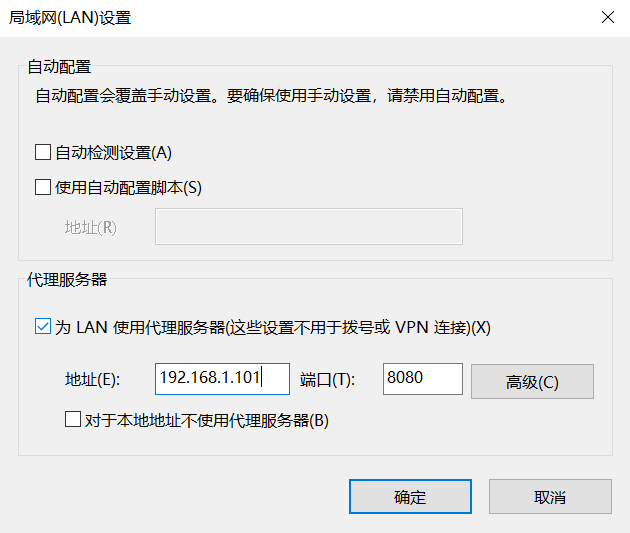
使用代理
安装好 Squid 的主机的 ip 为 192.168.1.101,开放了端口 8080。于是打开浏览器,按照 “工具 - Internet选项 - 连接 - 局域网设置” 打开界面,按照下图设置就行